How To Tie A Jiu-Jitsu Belt (And Have It Stay Tied!)
When you are getting your Jiu-Jitsu belt, there is no greater honor.
However, if you ever have to stand up in front of the class for whatever reason, the last thing you’ll want is for your belt to look slack and be practically hanging around your ankles.
However, there are many ways that you can tighten your Jiu-jitsu belt and make sure that it stays on your waist no matter how active you are.
Once you have mastered even one of these tying methods, then you’ll be sure that you turn out at your competition looking pretty good.
So what are the best methods for tying a jiu-jitsu belt? Are there certain knots that are better than others? How long will it take you to tie a decent knot?
Well, if you wnat the answers to all of these questions and more, then we would suggest that you keep reading.
How Many Ways Are There To Tie A Jiu Jitsu Belt?
There are traditionally three ways of tying the belt, officially. You can use other methods, but it you wnat to conform to the rules of passing the guard then you have to abide by a certain regulating of tying alone.
You can use these three ties during any time during your jiu- jitsu match, although you might prioritize one style of tying over another for the situation that you’re in.
But what are these knots? Here is a quick run-down of the main types:
Standard Variation
This is the quickest knot that you can tie, making it great for competitions, as it will not cut into you or cause you much discomfort. If you are tying your belt in the middle of a competition, you’ll only get a short amount of time to do so.
Here is a break-down of how you can tie this standard variation knot quickly and efficiently:
- Find the central point of your belt – you don’t have to do this will a tape measure, but you can roughly estimate where the belt is by folding it in half. Once you have done this, you might want to mark it with a pen.
- Place this marked central point at the exact point of your belly button.
- Wrap it around your waist – take the two end points and wrap them once around your waist until they come back around to the front.
- Bring each tail until one is over the other. You should form it in a cross over your belly. Do not tie it too tightly at this stage.
- Once you have done this X-shape, then take one of the ends and loop it through the middle. If you find that the other tail gets twisted, then turn it until the flat part is against your stomach.
- You’ll know that you’ve done the right shape because the two flat ends of your belt will be flat against each other.
If you have bought a new white belt, then you might find that it has succumb to certain twisting. This can result in the unsoightly macaroni shape that you definitely won’t want.
To avoid this kind of twisting, then you might want to attempt tying this again.
Pitfalls Of The Standard Variation
If you are rollingquite a lot in the early days of you BJJ, then you might experience this knot becoming loose. You might have seen some young belts actually discarding their belt in parcatice because of the hassle of tying it over and over again.
However, even though this might be tricky to keep retying, it is the quickest method of getting your belt around your waist. You’ll just have to make sure that you master it within the quickest time.
The best advantage of tying this belt is that you can do it fast at competitions. You only get around 20 seconds to get your belt in order during competitions.
This will help to sav eyou some precious time, as often the referee will instruct you to tie your belt, which might cause you to lose some points in the long run.
You might also be worried that your belt will look unsightly with the two ends hanging lose. However, there are other methods of more cleanly tying your belt around your waist. Keep reading to find out what these methods are.
Hollywood Style
If you wnat to make sure that the bands of your belt are not visible at the back, then you might want to try the Hollywood style of knot. This is a much more efficient method of tying which will make you look much more presentable.
Follow our step-by-step guide for tying the Hollywood knot:
- Take the one end of your belt and press it behind you on one side of your waist.
- Now taking the otehr end, wrap the rest of your belt around yourself twice. This should leave you with the one end of the belt in your hands.
- With this free end of the tail in your hands, put it underneath the rest of the belt. This will be just like the standard variation.
- Once you have done this, you should push the inside layer of your belt outward until it resembles the standard variation knot.
- Once it resembles the standard deviation knot, tie it tightly in much the same method as you would with the other types.
Pitfalls Of The Hollywood Knot
This knot does take longer to tie than the standard variation, all for the same result. This might defeat the purpose of wanting to tie the knot in the first place. However, some people find that this knot is a lot more secure than doing it the standard way.
The only reason that you might want to do a Hollywood knot is if you need to look good for a belt presentation or the start of a competition.
If you want to tie your belt without incurring a penalty for time, we would still recommend the standard variation.
Super Knot
Next up, we have the third and final knot, appropriately called the Super Knot. This knot is designed to be used when you simply don’t want your best to become unrolled during a competition or a practice match.
Here is a step-by-step guide for tying the Super Knot:
- This is very similar to the Hollywood style of belt tying. Firstly you have to take one end of the belt and hold it to your side around your back.
- Now wrap the belt twice around yourself until you are just holding the one end in much the same way as you would the Hollywood style.
- Now take the tail that you have free and wind it underneath both layers of your belt until it becomes the ‘top tail’.
- Take the bottom tail around your back and push it out at the bottom.
- Then take the top tail and thread it through the two layers of your belt again until it makes a loop.
- Now take the protruding bottom tail and feed it under the two layers of your belt in much the same manner as you did with the top layer. You’ll need to make sure that it is fed through the loop of the top tail.
- Once you have done this and you have two loops, you’ll want to pull them together until they are tight around your waist.
Pitfalls Of The Super Knot
Som epeople have claimed that they have done this knot so tight that it actually erstricts their breathing. This knot is not that easy to untie, so you might find yourself fiddling with it and wasting a lot of time during training.
The one method of getting around this is tying your belt while you have fully exhaled. Once you have done this, then tie the belt. This will give you plenty of room to breathe out when you need to.
Another reason why you might not like the super knot is that the lapels can often slip out iof their loop. This will result in your having to loop them back through, which might take a few extra seconds that you’ll definitely need.
The fact that this knot is so hardy might also be a reason why you won’t want to tie it.
If you belt is too tight, then this might give your opponent an advantage over you, allowing him to pull it so tight, which will cause the referee to instruct you to re-tie your belt.
What Other Styles Of Jiu-Jitsu Knots Are There?
There is another kind of knot that we can mention: that is the karate or taekwondo knot. Here is a step-by-step guide on how to tie a knot like this:
- Take your belt and find the center. Once you have done this, wrap it around your waist until the lapels are hanging from the back.
- You should then wrap the belt around your waist again so now that the ends are facing the front.
- Once you have wrapped this, you should be holding the side that is wrapped around your body with your left hand and the slack end with your right hand.
- Take the left-hand lapel and feed it underneath all of the layers of your belt, starting from the bottom and coming through the top.
- Once you have done this, you might have to alter the blet so that the two ends of the lapel are roughly the same length. To do this, you might have to loosen and readjust the whole length of your belt, but try not to undo the fundamental wrapping style of your belt.
- Take the one end of the belt and cross it over the other. You should make sure that left side of the belt, which should be the highest, is crossed over the right side. Once you have done this, then you should have a small gap between the point where the belts cross.
- Take the right end of the belt and feed it between this gap. Once you have this knot, then pull it tight by either send using both hands.
Now that you know how to use the karate knot. As you have seen, this is a more complex style of knot that will take around the same time as the super knot.
However, as with the super knot, the karate knot is incredibly strong. This will be great for preventing untying, which will obviously be an issue if you are rolling a lot.
Frequently Asked Questions
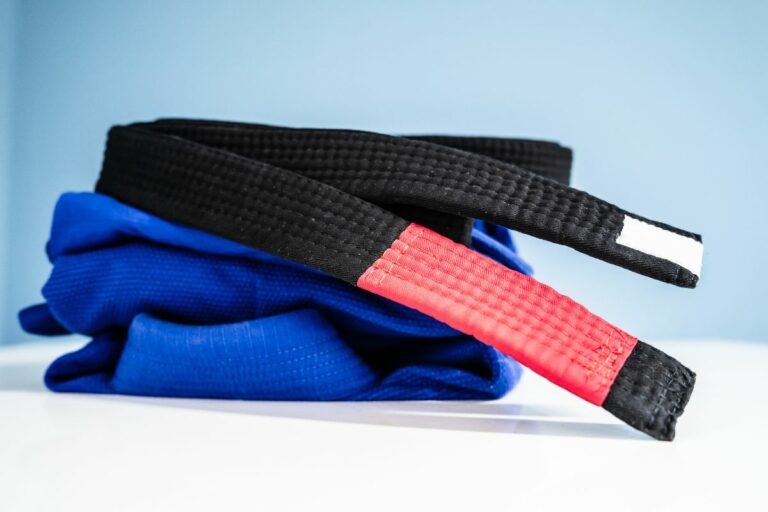
What Is The First Belt That I Can Get?
The starting belt for most BJJs is the white belt. This is a belt that you can get from your gym when you first start jiu-jitsu training.
You can also buy your own belt. This is the belt that you won’t have to do anything to earn!
What Is No-Gi And Do I Need A Belt For It?
The gi is the part of the jiu-jitsu uniform that you will need to tie in the middle.
However, if you are going to train without one, then you won’t need to have a belt at all. This will save you the hassle of having to learn so many knots.
Conclusion
We hope that our guide to the various jiu-jitsu belt knots has helped you to decide which is the best one for your needs. You might go through a lot of trial and error until you find the right belt.